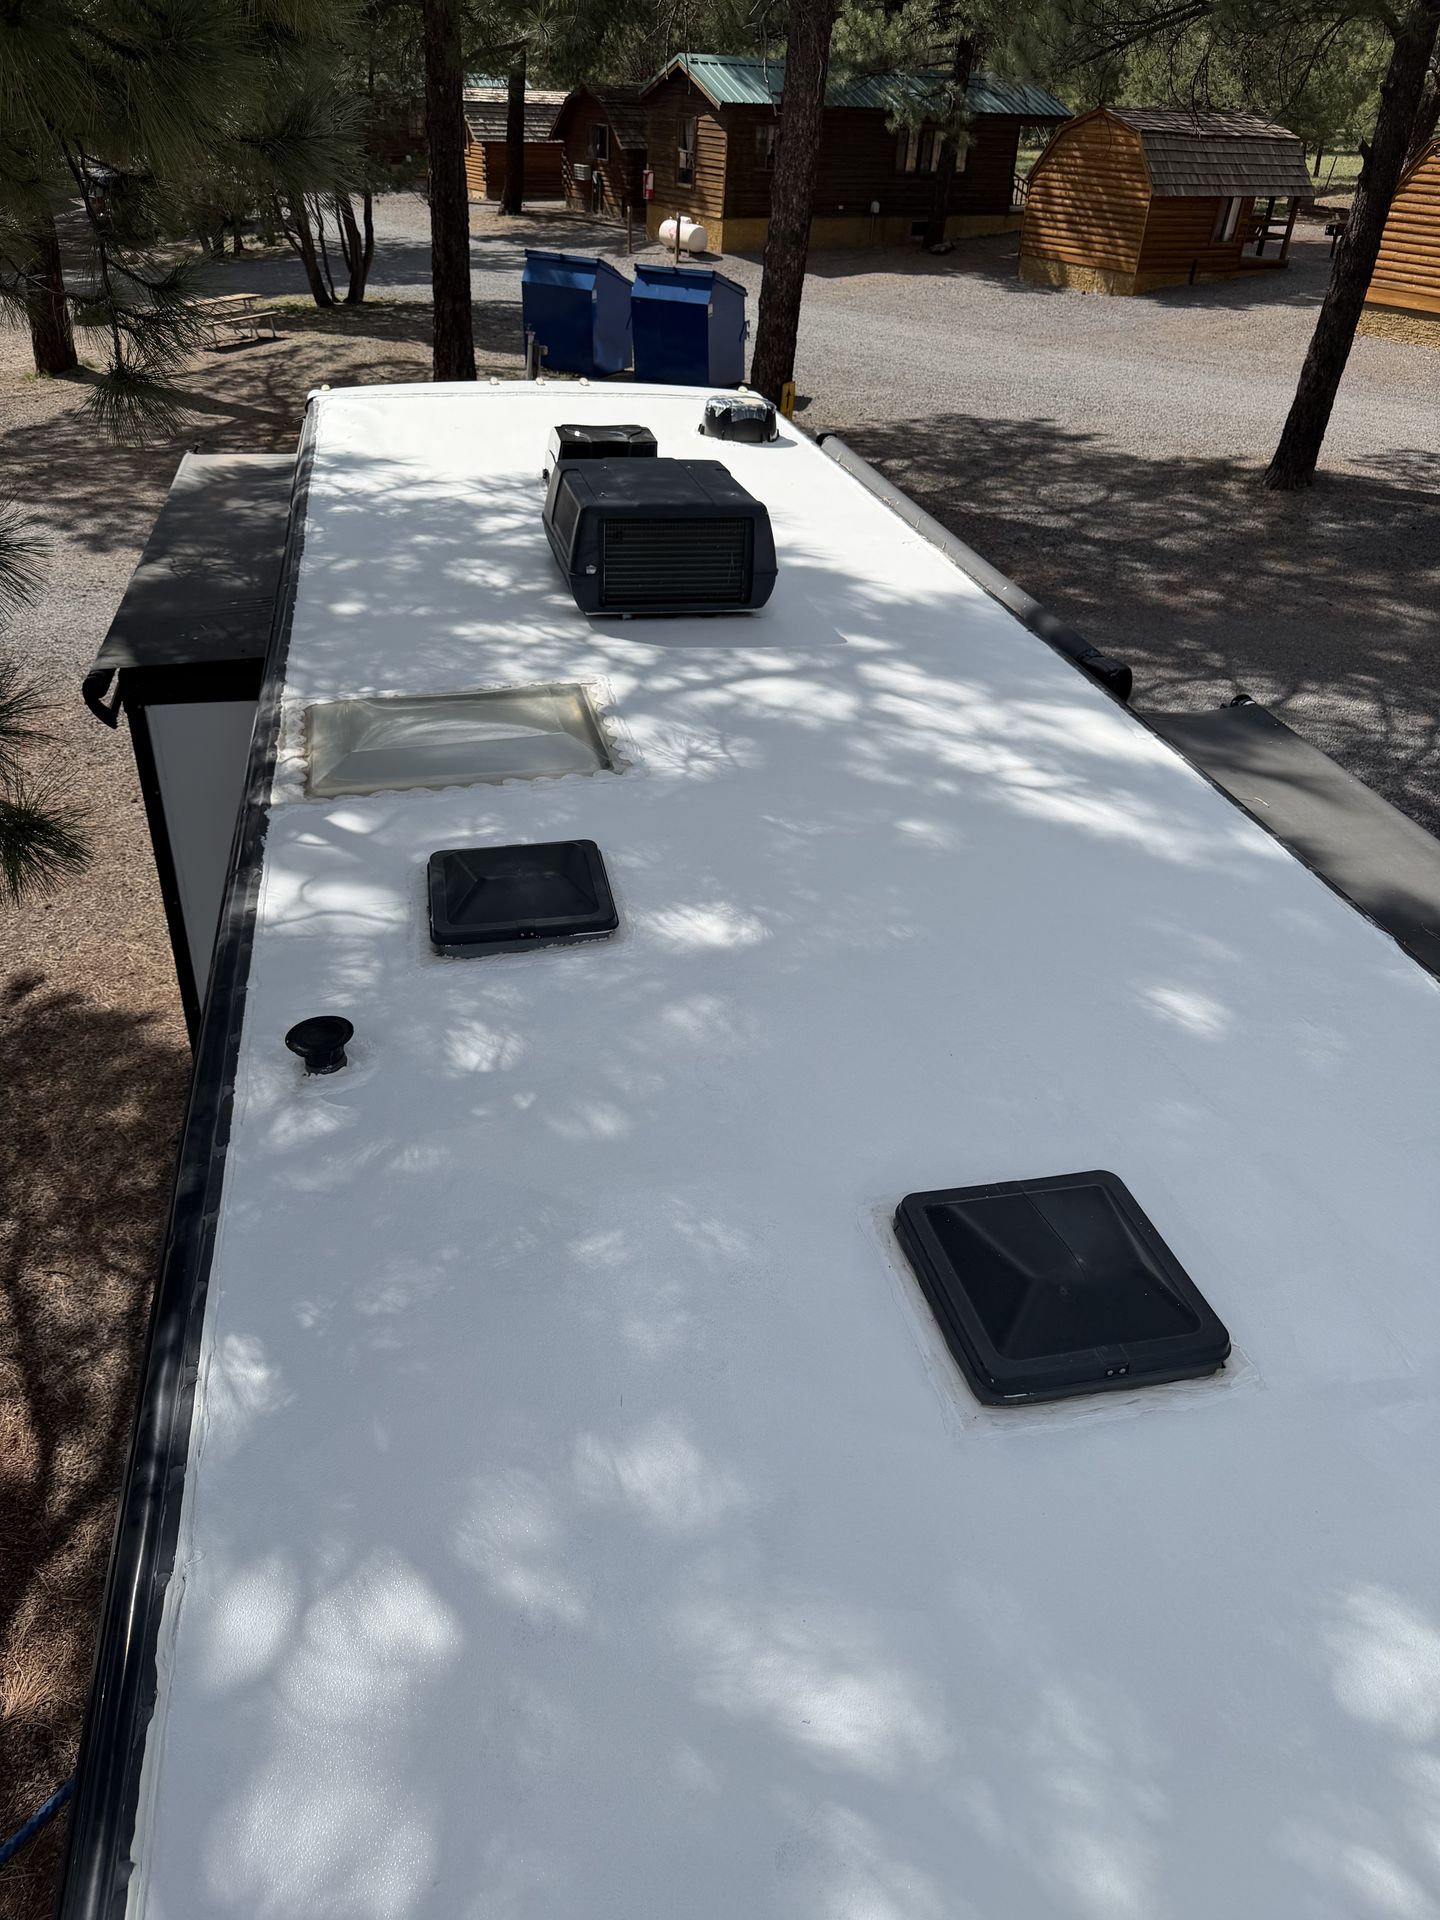
Roof & Leaks
Your RV Roof at 7,000 Feet: UV, Monsoon, and Snow Load
· 5 min read
Why roofs fail faster up here
Most RV roof leaks we find in northern Arizona started as a hairline crack in sealant that the owner never saw. The owner's manual says inspect every 6 months and reseal as needed. At 7,000 feet, as needed comes a lot sooner than the manual assumes.
Flagstaff gets hit three ways a year. UV is harsher at altitude because there is less atmosphere to filter it, roughly 25 to 30 percent more UV than at sea level. The summer monsoon, usually early July to mid September, drops heavy, wind driven rain that finds every gap. Then winter puts snow on the roof, sometimes for weeks, and every freeze and thaw cycle works water into cracks and pries them open.
How to inspect your roof
If your roof is rated for walking, and most rubber and TPO roofs on travel trailers and fifth wheels are with care, get up there on a cool morning. Stay on the areas over roof trusses and away from skylights. If you are not comfortable, inspect from a ladder at each corner.
- Every vent, fan, and A/C flange: look for cracks, gaps, or sealant pulling away from the roof.
- The front and rear cap joints where the roof membrane meets the fiberglass.
- Side edge termination bars and the screws under them.
- Antenna, solar mounts, satellite domes, and any screw head.
- Skylights, which crack from UV and hail.
- Soft spots when you step, which mean the decking under the membrane is already wet.
Inside, look at ceiling corners, around vents, and inside cabinets along the outer walls. Stains, a musty smell, or wallpaper that bubbles are signs water has been getting in for a while.
Which sealant goes on which surface
This is where good intentions go wrong. There are two main kinds of RV roof sealant, and they are not interchangeable.
Self-leveling sealant
Self-leveling lap sealant, like Dicor 501LSW for EPDM or the matching TPO version, flows out after you apply it. It belongs on horizontal surfaces: around vent flanges, A/C openings, and roof penetrations. It fills the gaps and then levels into a smooth bead.
Non-sag sealant
Non-sag lap sealant, like Dicor 551LSW, stays where you put it. It goes on vertical and angled surfaces: edge terminations, front and rear cap joints, and side seams. Self-leveling on a vertical edge runs off before it sets.
What not to use
Silicone is the big one. Nothing sticks to it once it cures, including new sealant. If someone ran silicone along your roof edge, the only proper fix is to remove all of it, clean the surface, and start over. Hardware store caulk and roofing tar do not bond to rubber or TPO and will crack inside a season.
Why the wrong product makes it worse
The wrong sealant can look fine for a month. Then the roof flexes on the road, expands in the 90 degree sun, and contracts at 20 degrees at night. Incompatible sealant pulls away, and water gets under it instead of around it. Because the top looks sealed, nobody looks again until the ceiling stains.
Layering new sealant over old cracked sealant without cleaning is the other common mistake. It hides the crack and leaves a path for water underneath. Remove loose and failed sealant, clean with the manufacturer's recommended cleaner, and then apply the new product.
“A roof that looks sealed and a roof that is sealed are two different things.”
Snow load and freeze thaw
Most RV roofs are not built to carry heavy snow. Many are rated somewhere around 20 to 30 pounds per square foot, and wet Flagstaff snow can weigh 15 to 20 pounds per cubic foot. A two foot storm on a flat travel trailer roof can put more weight up there than the roof was designed for, and it can sit for weeks in a shaded storage lot.
The bigger problem is not the weight. It is the cycle. Snow melts on a sunny 40 degree afternoon, water runs into a crack in a vent flange, and it freezes again at night. Ice expands and pushes the crack open a little more. Do that thirty or forty times in a winter and a hairline crack becomes a quarter inch gap.
If you can, store the rig under cover or use a breathable RV cover rated for snow. Clear heavy snow with a soft roof rake from the ground, never with a metal shovel on the membrane. After the last storm in spring, inspect the roof before monsoon season starts in July, so the first big storm of summer does not find a gap that winter opened.
How a $200 reseal turns into a rot repair
Here is how the numbers usually run in our area:
- Touch up and reseal of vents and penetrations: $150 to $400.
- Full roof reseal including edges and caps: $400 to $900 depending on length.
- New vent or skylight replacement: $200 to $500 installed.
- Rotted roof decking section: $1,500 to $4,000.
- Sidewall delamination repair: $3,000 to $8,000 or more, sometimes more than the rig is worth.
- Full roof membrane replacement: $6,000 to $12,000 or more.
Water damage is also one of the most common reasons an RV fails a pre-purchase inspection. A reseal costs less than a single lost point of resale value.
When to call us
Owners can do the inspection and small touch ups with the right product, as long as the roof is safe to walk. Call us if you find soft spots, stains inside, silicone that needs removing, or you are not sure which membrane you have. We do RV leak repair including moisture testing, and roof work through our general RV repair service. We come to storage lots and driveways across Flagstaff and Williams.
Common questions
How often should I reseal my RV roof in Flagstaff?
Inspect every spring and fall and after major storms. Most rigs need touch ups yearly and a fuller reseal every few years at this altitude.
Can I use silicone on my RV roof?
No. Nothing bonds to cured silicone, including proper RV sealant. It must be fully removed before resealing.
What is the difference between self-leveling and non-sag sealant?
Self-leveling flows and belongs on flat surfaces like vent flanges. Non-sag stays in place and belongs on vertical edges and cap joints.
Keep reading
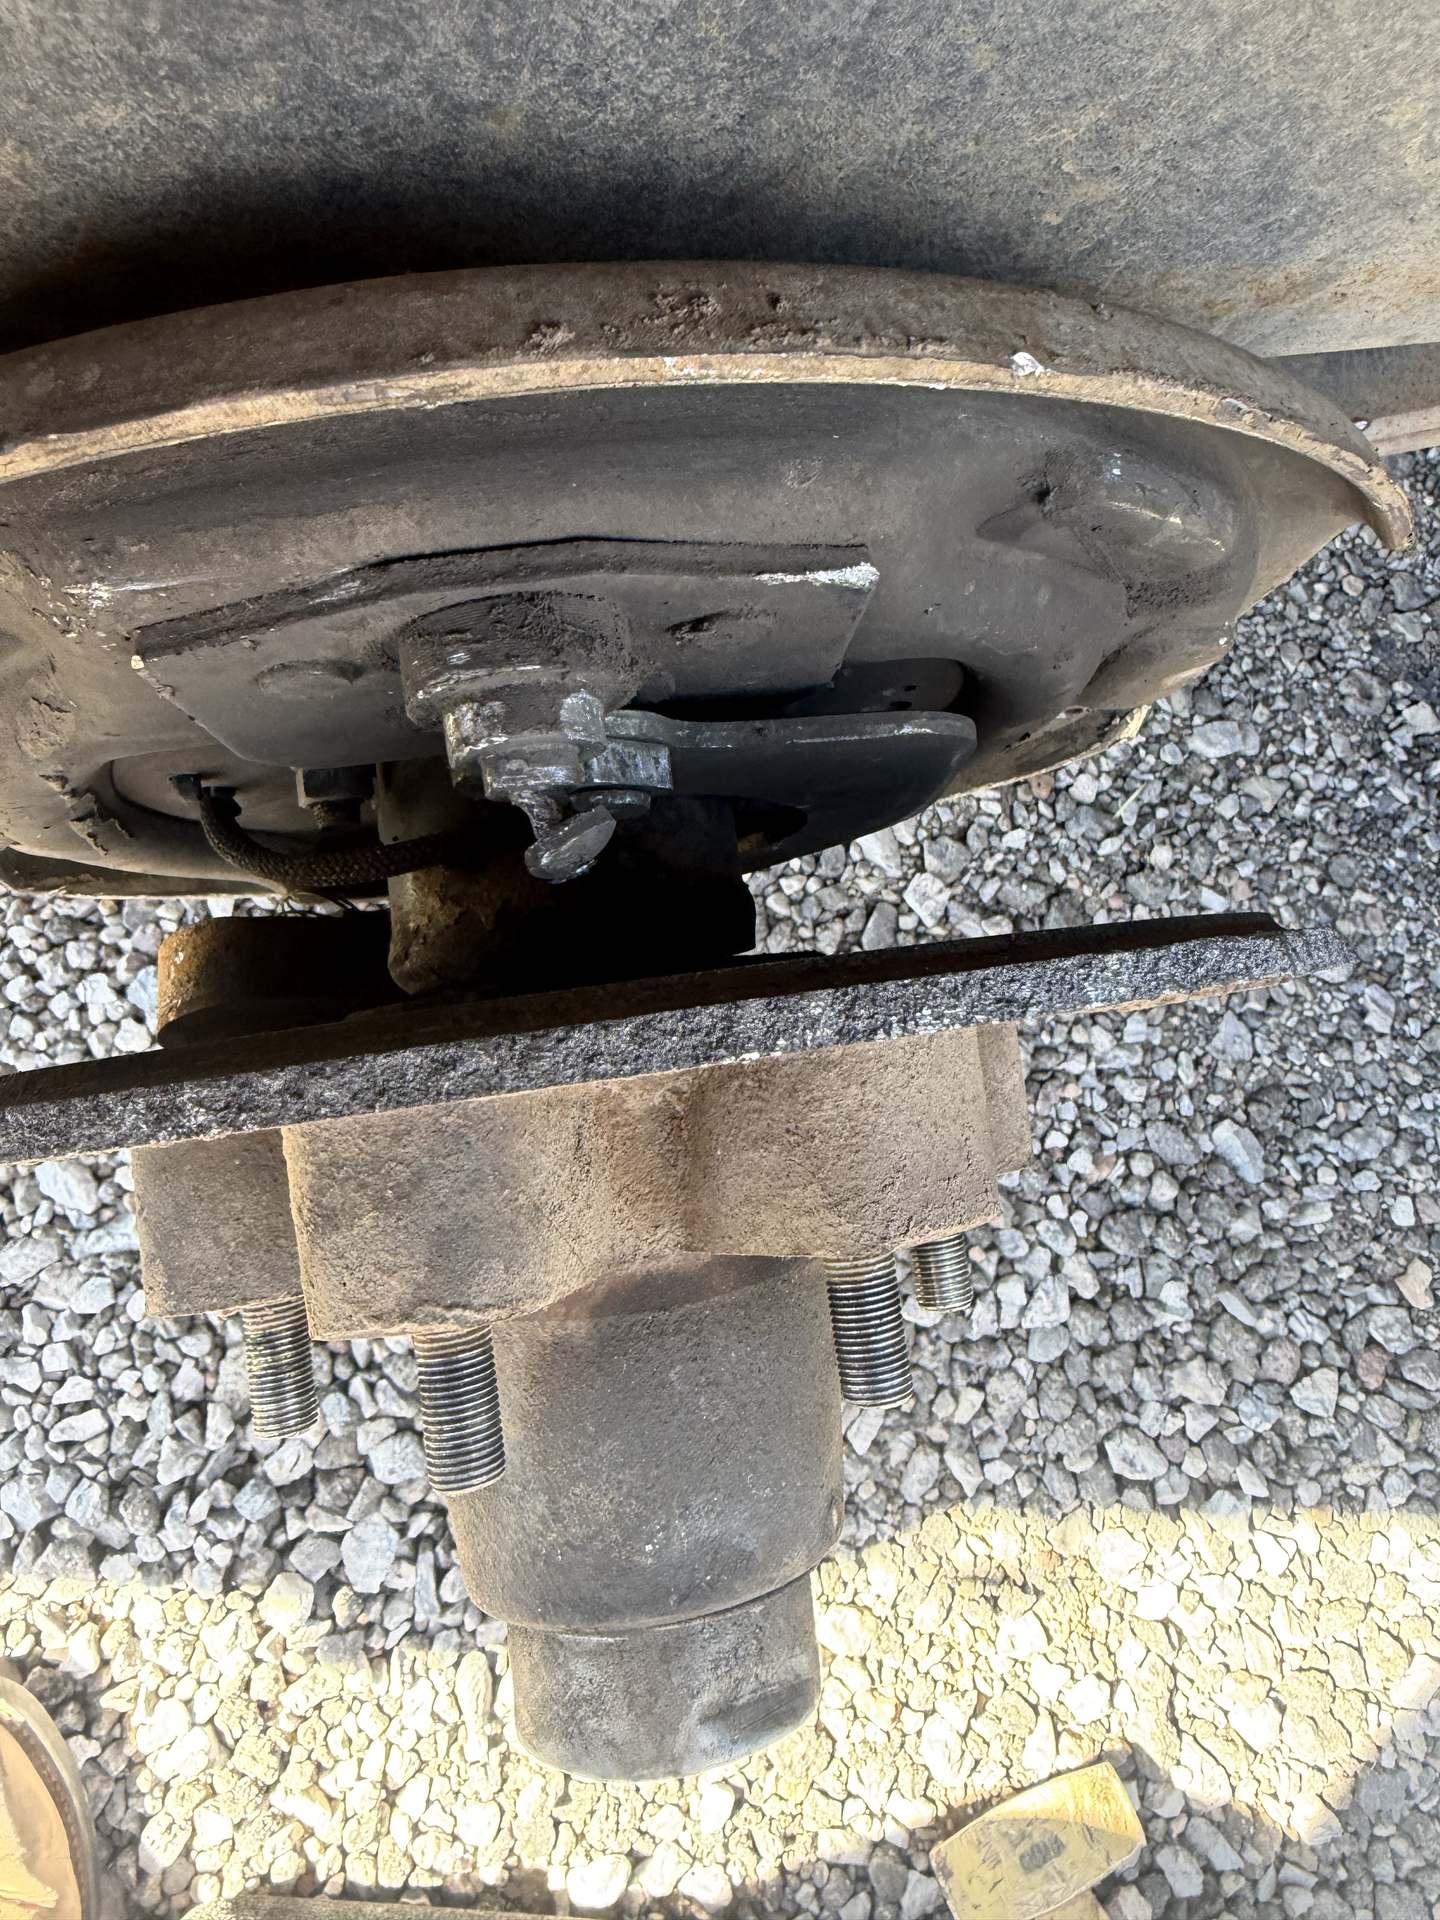
Pre-Trip ·
Heading Down to the Valley for the Winter? The Pre-Trip Check That Saves the Trip
The run down I-17 drops 6,000 feet in about 140 miles. Here is what to check before you hitch up so the trip to the East Valley stays boring.
Read article: Heading Down to the Valley for the Winter? The Pre-Trip Check That Saves the Trip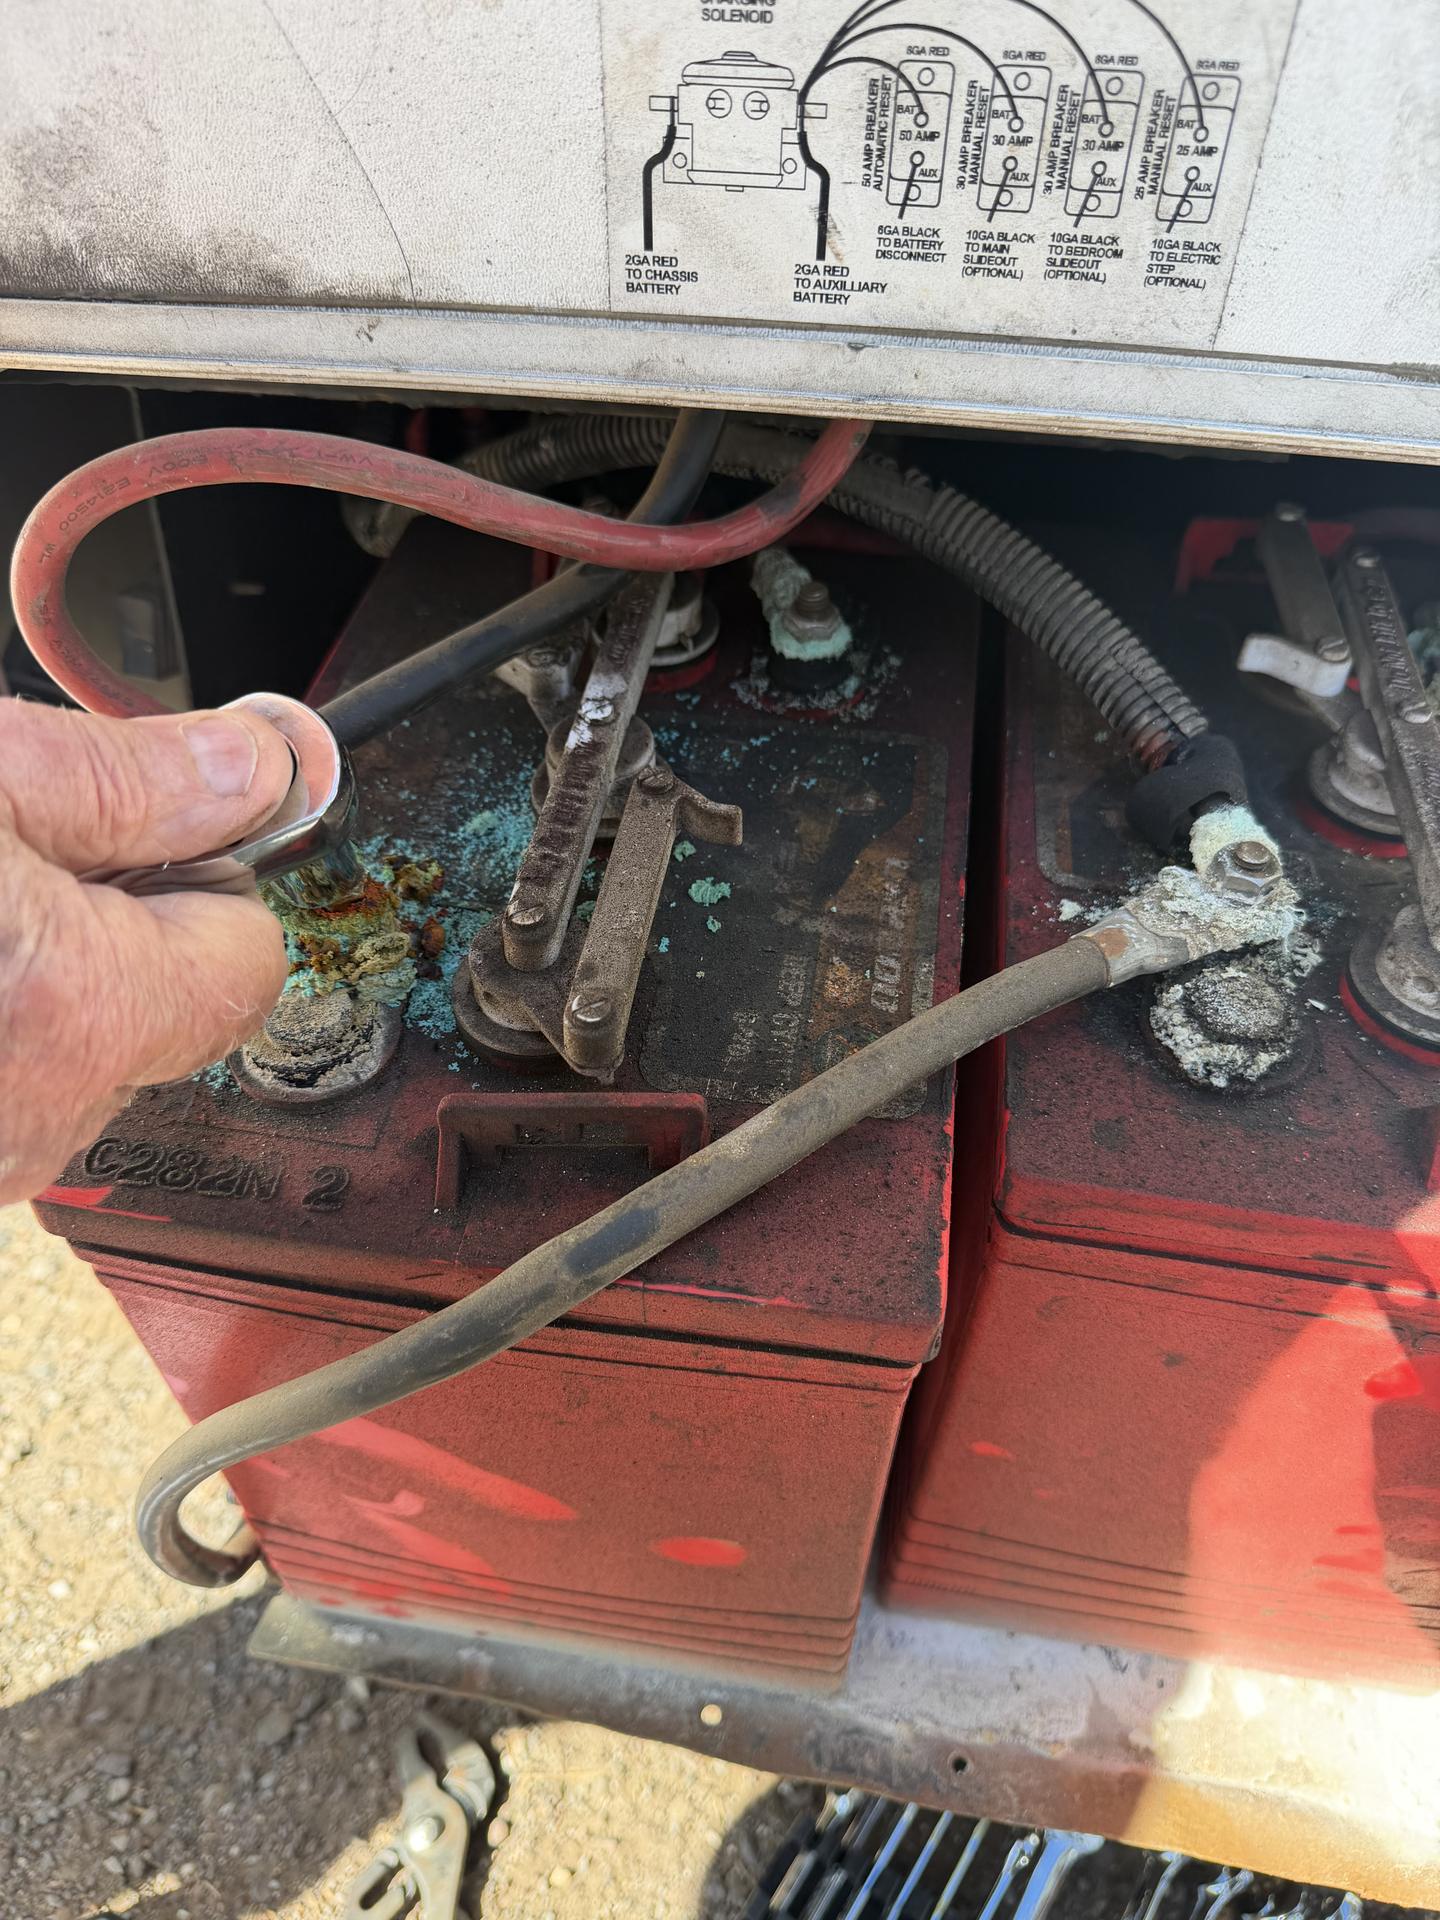
Electrical ·
Why Your RV Batteries Die Every Winter, and What to Do Before November
A battery that sits in a Flagstaff storage lot all winter with a parasitic draw is dead by January. Here is how to keep it alive until spring.
Read article: Why Your RV Batteries Die Every Winter, and What to Do Before November
Heating ·
RV Furnace Blowing Cold Air or Not Lighting? Here's What Actually Fails
Your furnace runs in a fixed order, and it stops at the part that failed. Learn the sequence and you can tell a dead battery from a bad igniter in five minutes.
Read article: RV Furnace Blowing Cold Air or Not Lighting? Here's What Actually Fails